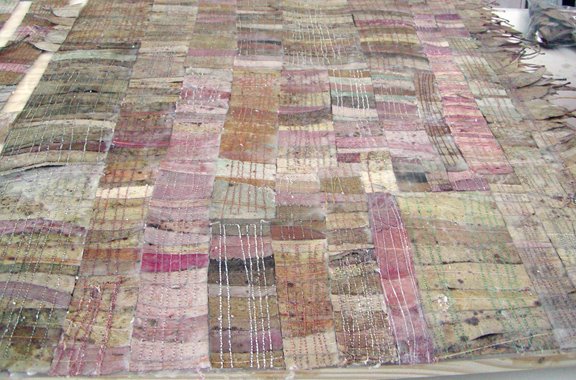
 Here is the almost finished piece.
The velcro option didn't work. That would have been cheating. I think probably the best adhesion is wax to wax. So I poured 3 pounds of beeswax onto a 24" x 48" wood panel. I placed the sewn pieces onto the waxed board. I rewaxed the sewn strips. I heated the wax surface and then placed the rewaxed strips onto the heated waxed surface. I then squeegeed the wax out of the strips with small pieces of cardboard. Et voila!
 Here's the 2 x 4 foot panel
with a "fence" of painters tape around it
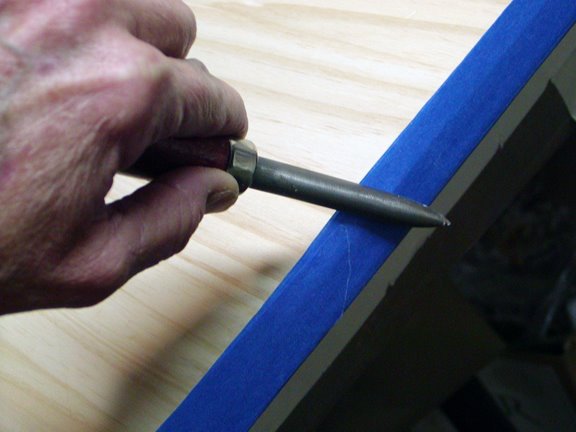 It' s good to burnish the edges,
so the molten wax doesn't spill out when poured.
 Melting the beeswax. Where's the third pound?
 I heated the panel before pouring-it flows better when it's hot.
Then I poured the beeswax onto the surface.
That shiny area is where my heating pad was, just underneath the surface
This is the last place to cool.
 This is where I trim pieces to fit.
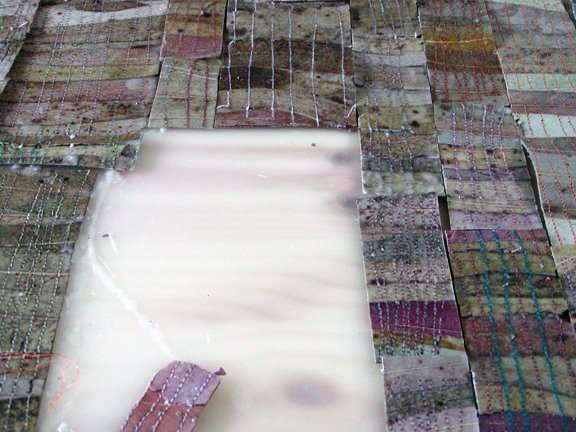 Laying out the strips.
 I score the wax with my exacto
to mark where to heat the wax.
 I heat the wax with my small torch
while the strip is being waxed in the medium bath.
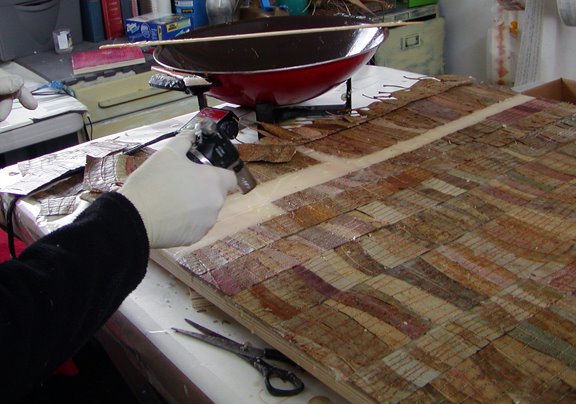
 Finally, I place the waxed sewn strip onto the heated wax surface
and squeegee off the excess wax with a small piece of cardboard.
Et voila!

5 comments:
Wonderful Post!
Thanks for sharing
I love when you show your process - this piece was so labor-intensive, but worth it! Nobody else ever made one like this!
absolutely amazing! I've been waiting to see this, wondering how it would finish. I just love it.
This is soooo beautiful! I love the subtle colours of the leaves. I echo sigrid jardin: Thanks for showing the process - so interesting, and it certainly demonstrates the enormous amount of work that goes into a piece like this. Congratulations!
wow, you make me want to make one of my own! I hope your show goes well!
Post a Comment